Run Mixer Demo
Prerequisites
Before running mixer_demo, you first need to:
-
Install AVT SDK on your device:
See AVTSDK Environment Setup for details. The installation script will install everything you need.
-
Connect the cameras to the device
Run the Demo
This demo demonstrates how to display live video from two selected cameras on a monitor. Otherwise can set the opacity for each camera when running the demo.
Steps
-
Create a script
init.shto configure the Wayland display environment1 for the demo:Then you can source the script in your terminal:
-
Run the mixer demo application. The application is installed to
/usr/bin, so you can run it directly with the following command: -
The application will prompt you to configure settings for two cameras, including format, resolution, and framerate for each. Additionally, you will be able to adjust settings related to the video mixer, such as its overall resolution, as well as the position and resolution of each camera feed within the mixer output.
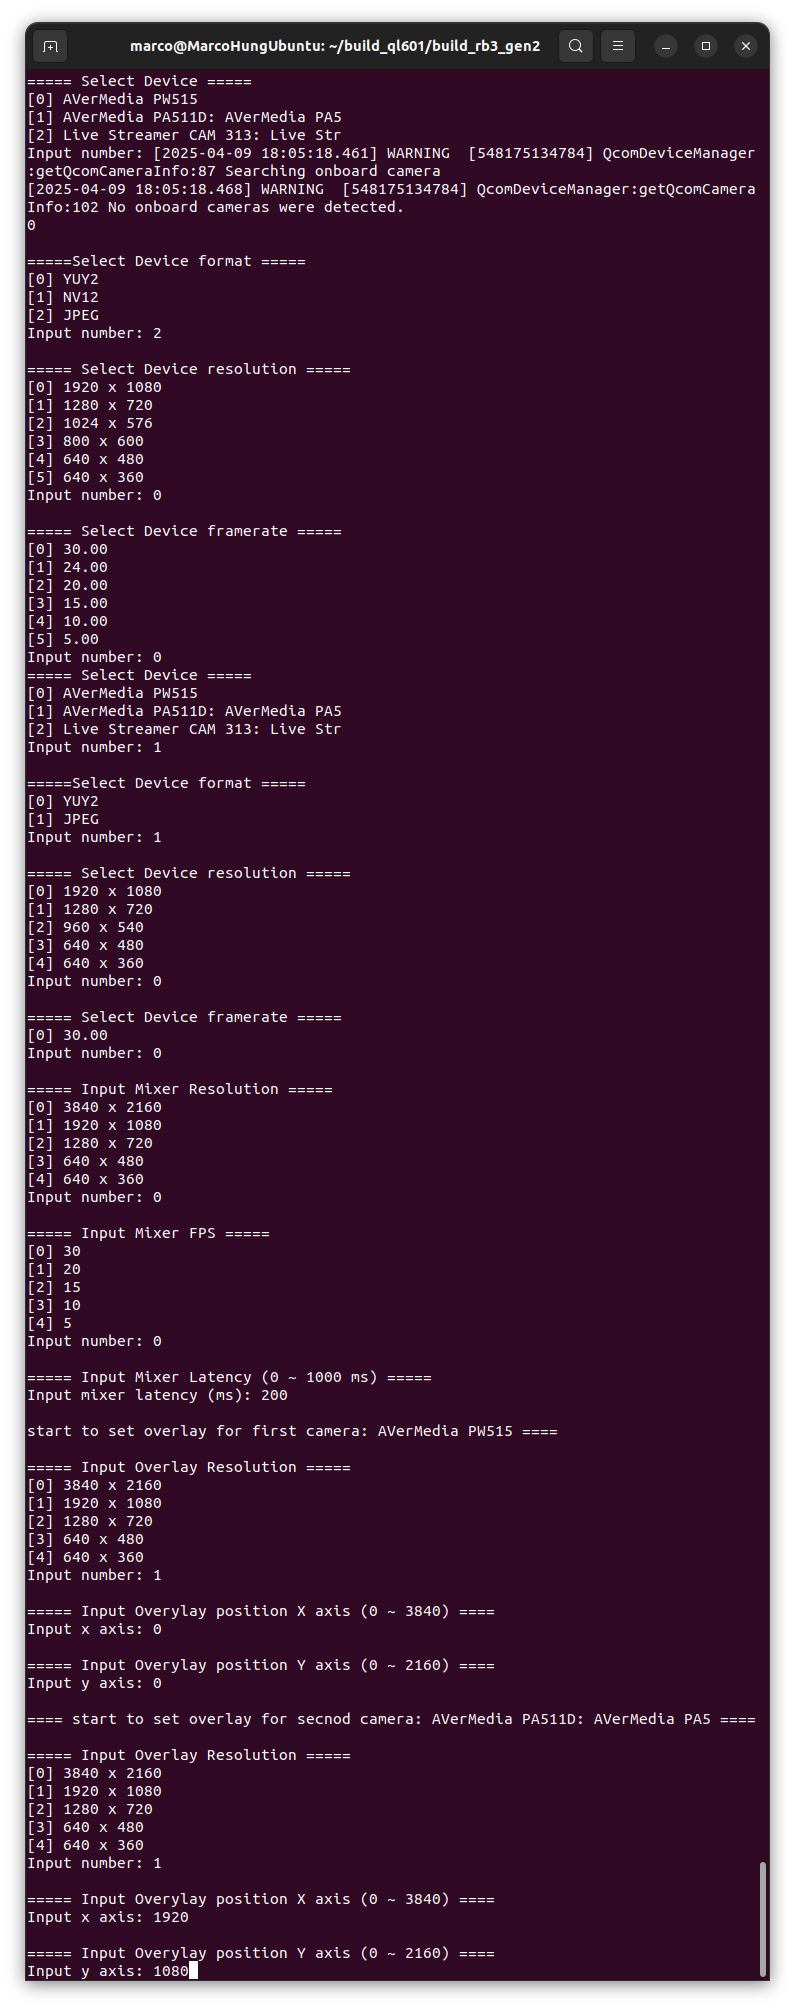
Settings for the cameras and the mixer.
-
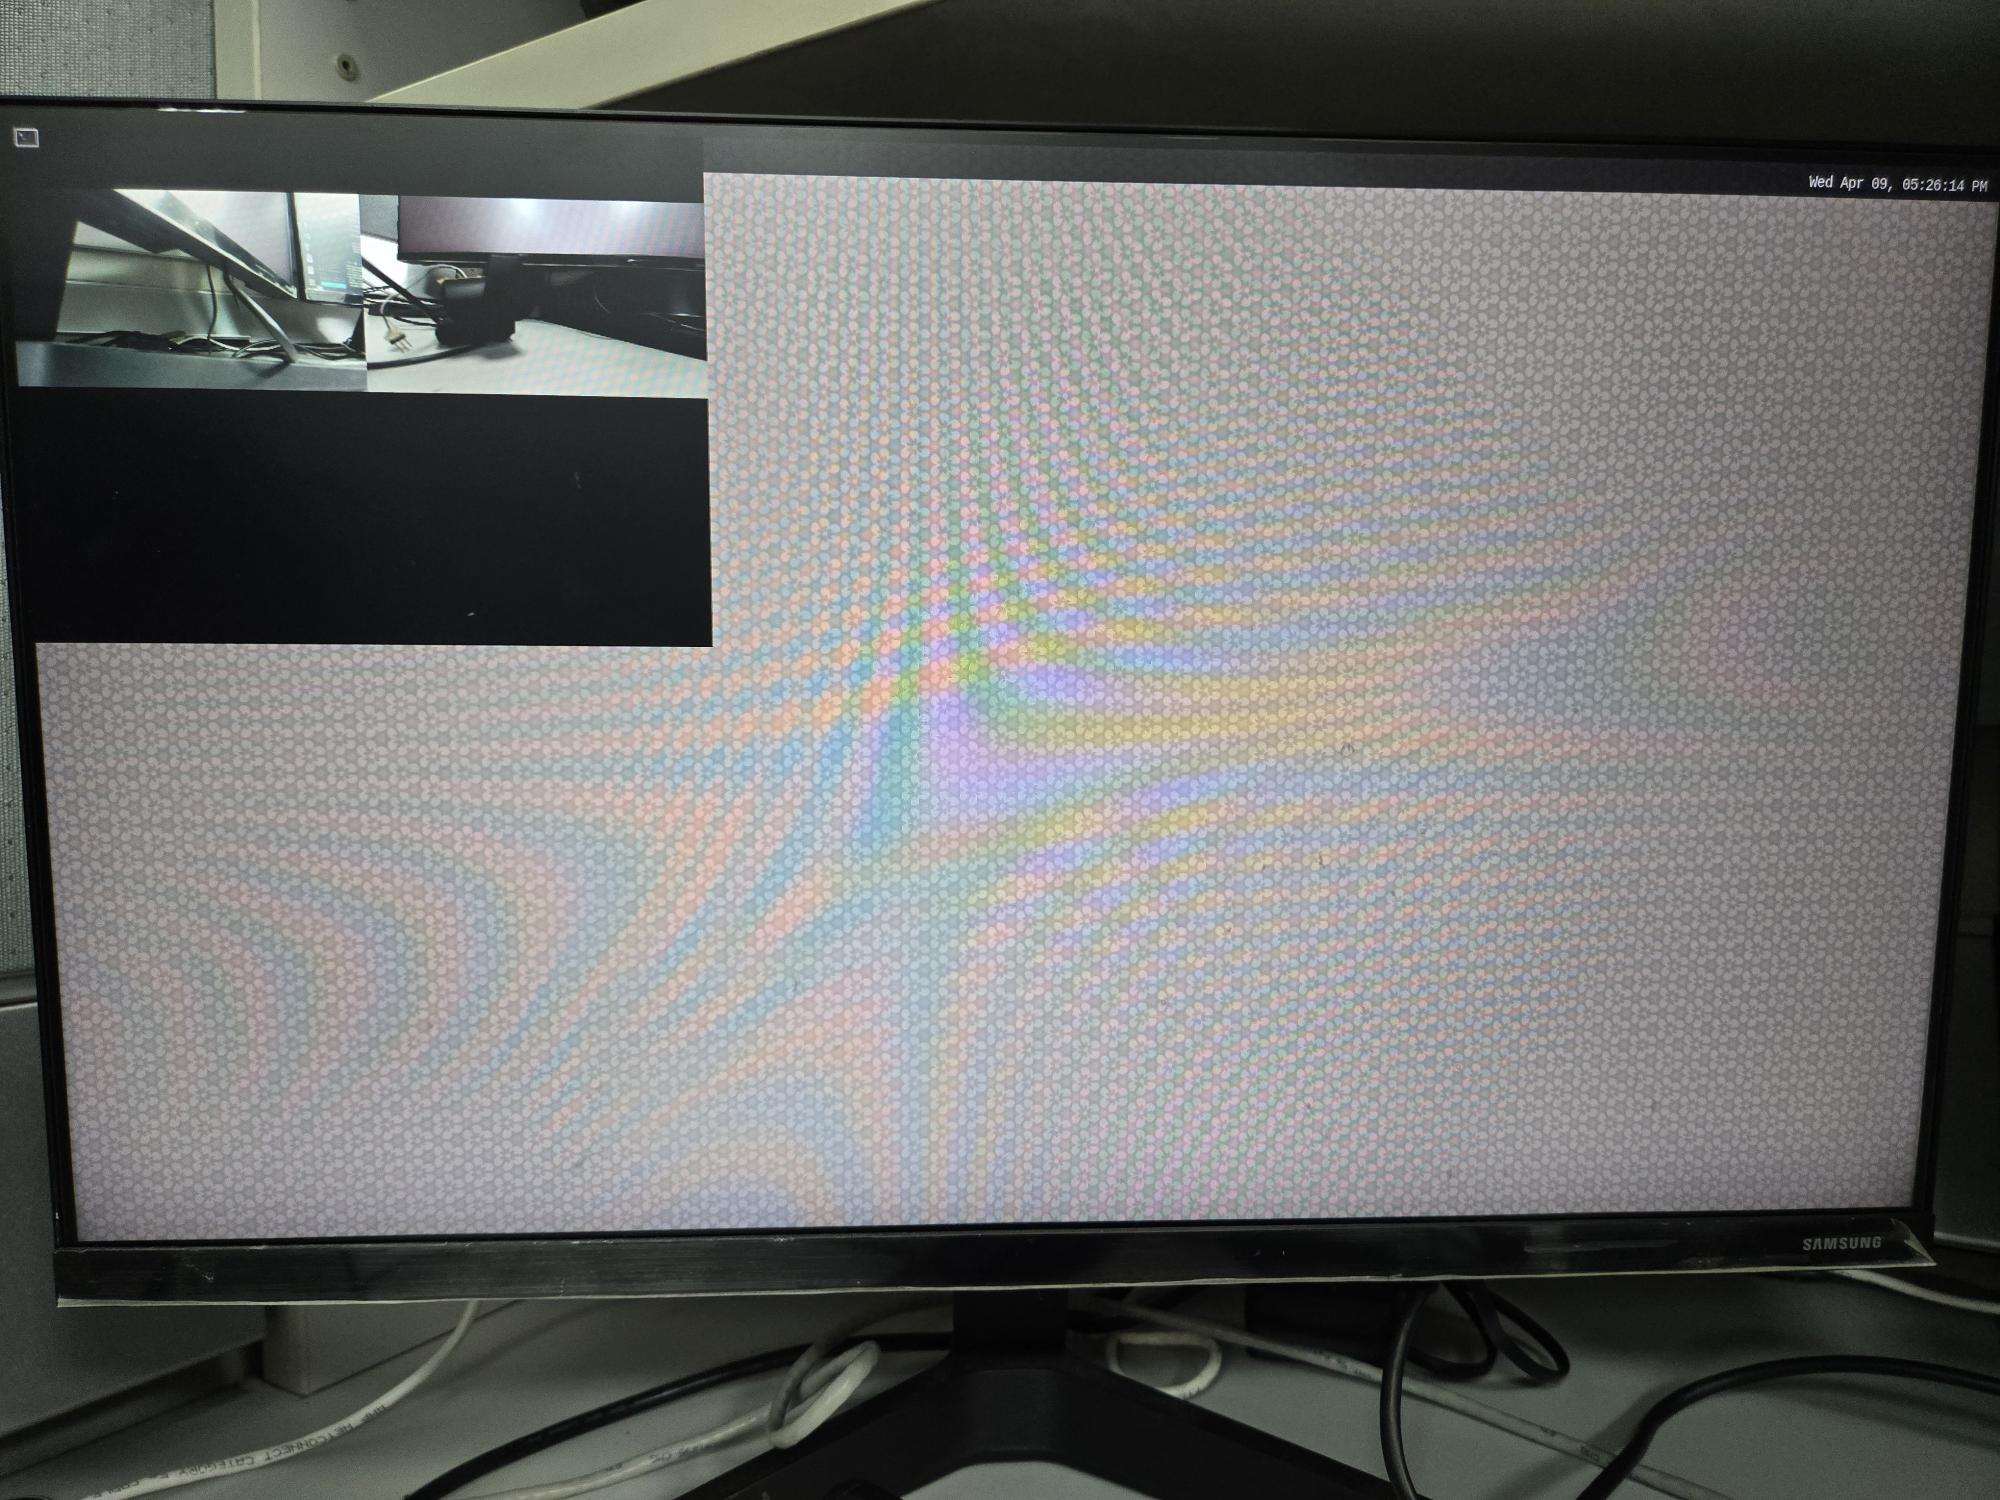
After setup, the mixer demo will start. You may see the result on the display
-
The Wayland environment variables are required for all the demos, even when there's no visual display output, as they are essential for proper initialization of some underlying AVT SDK components and plugins. In general, it is recommended to always set them to prevent any potential issues. ↩