Getting Started
This guide will walk you through the initial setup and verification of your SenseEdge Development Kit.
Recommended Hardware Setup
To interact with the graphical user interface (GUI) and view AI demo results, you must use the Jetson device as a local workstation:
- Monitor: Connect a monitor to the DisplayPort or HDMI port of the D317 carrier board.
- Peripherals: Connect a USB keyboard and mouse. Since the board uses USB Type-C ports, a USB-C Hub or adapter is required for standard USB Type-A devices.
- Network: Ensure the Jetson device has internet access to download the demo repository.
Verify Network & Access Documentation
We have pre-installed Firefox and a desktop shortcut to help you get started quickly.
Recommended Action: Double-click the "SenseEdge Official Website" shortcut on the desktop.
- If the website loads: Your network is ready! You can now browse this documentation directly on the Jetson device for easier copy-pasting of commands.
- If you see a "Potential Security Issue" or "Clock Error": This is a common issue after flashing. It means the system time is incorrect, causing the secure connection to fail.
- Fix: Click the top-right system menu -> Settings -> Date & Time, and ensure it is set to correct time or "Automatic".
Perform Steps on the Jetson Device
Unless specified otherwise, all terminal commands and applications described below must be executed directly on the Jetson device (D317) via the connected monitor and keyboard.
Prerequisite: Firmware Check & Update
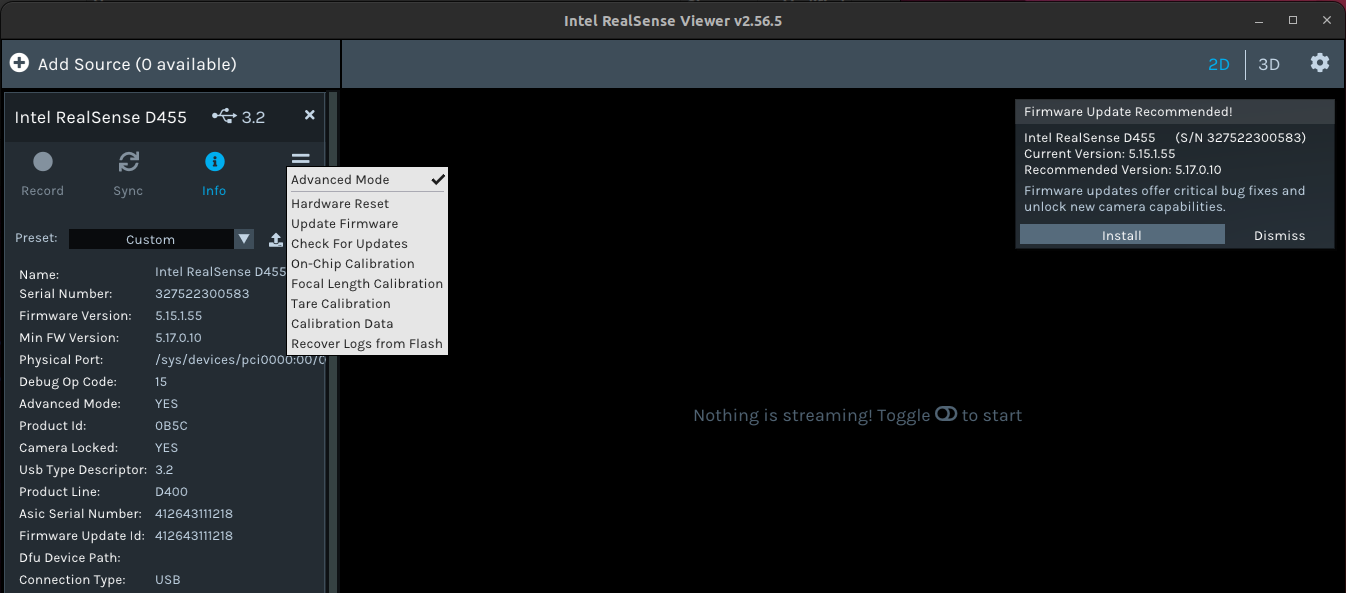
Critical: Firmware Requirement for GMSL
The RealSense D457 camera often ships with factory firmware 5.15.1.55, which cannot be detected via GMSL connection. You must update it to 5.17.0.10 (or newer) using USB mode before connecting it to the D317 carrier board via FAKRA.
Update Procedure:
-
Switch to USB Mode To access the mode switch, first remove the top cover of the D457 camera.
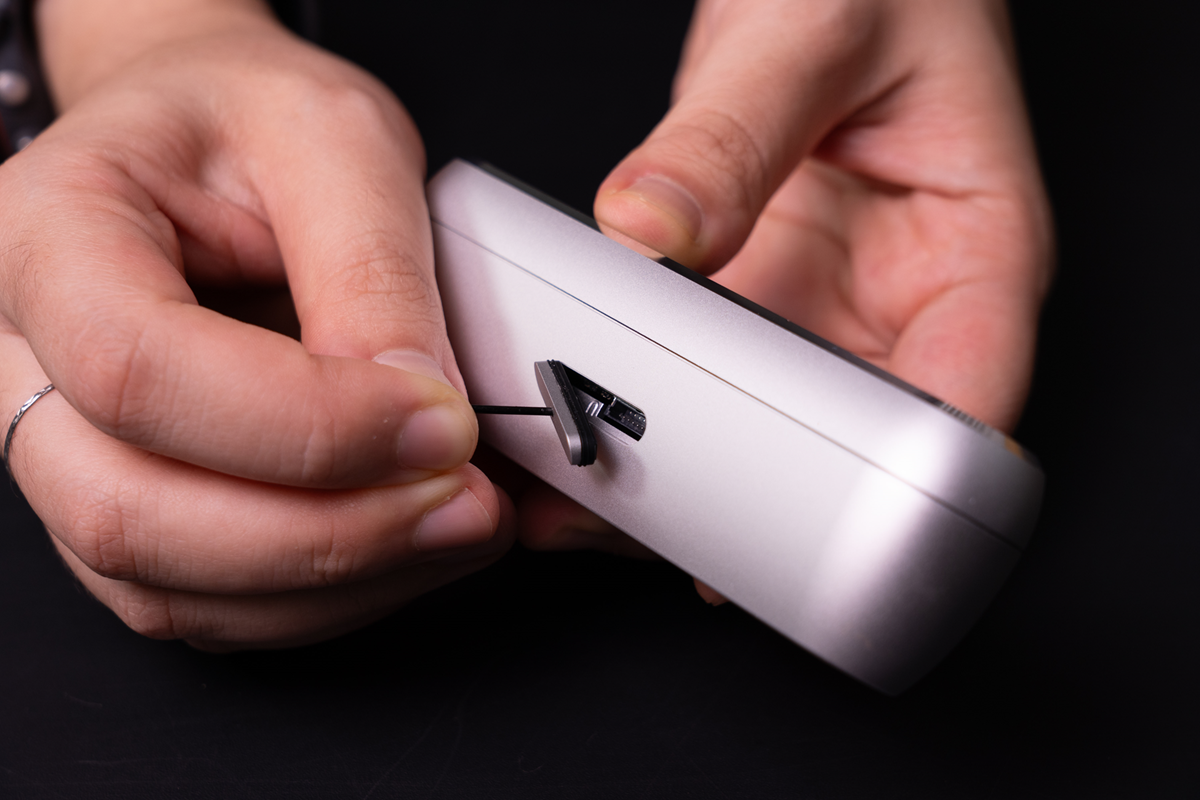
Once opened, locate the switch on the internal board and toggle it to the USB position.
-
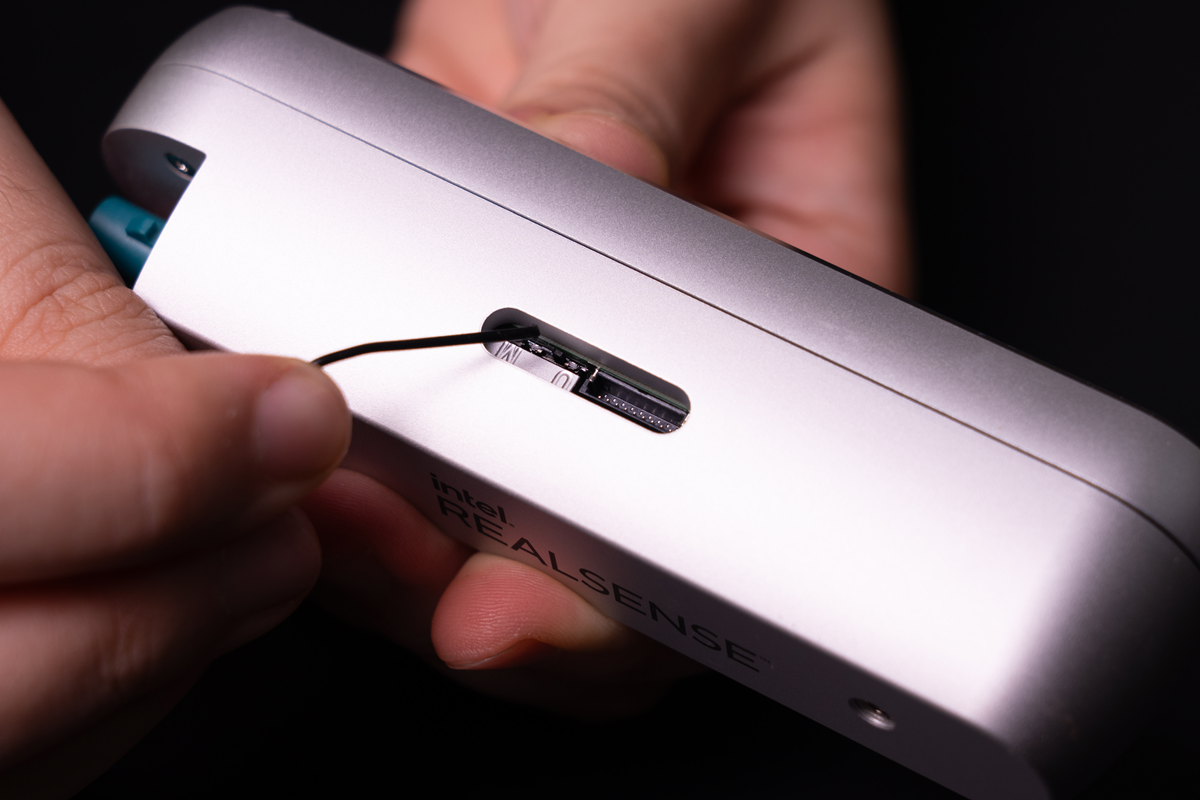
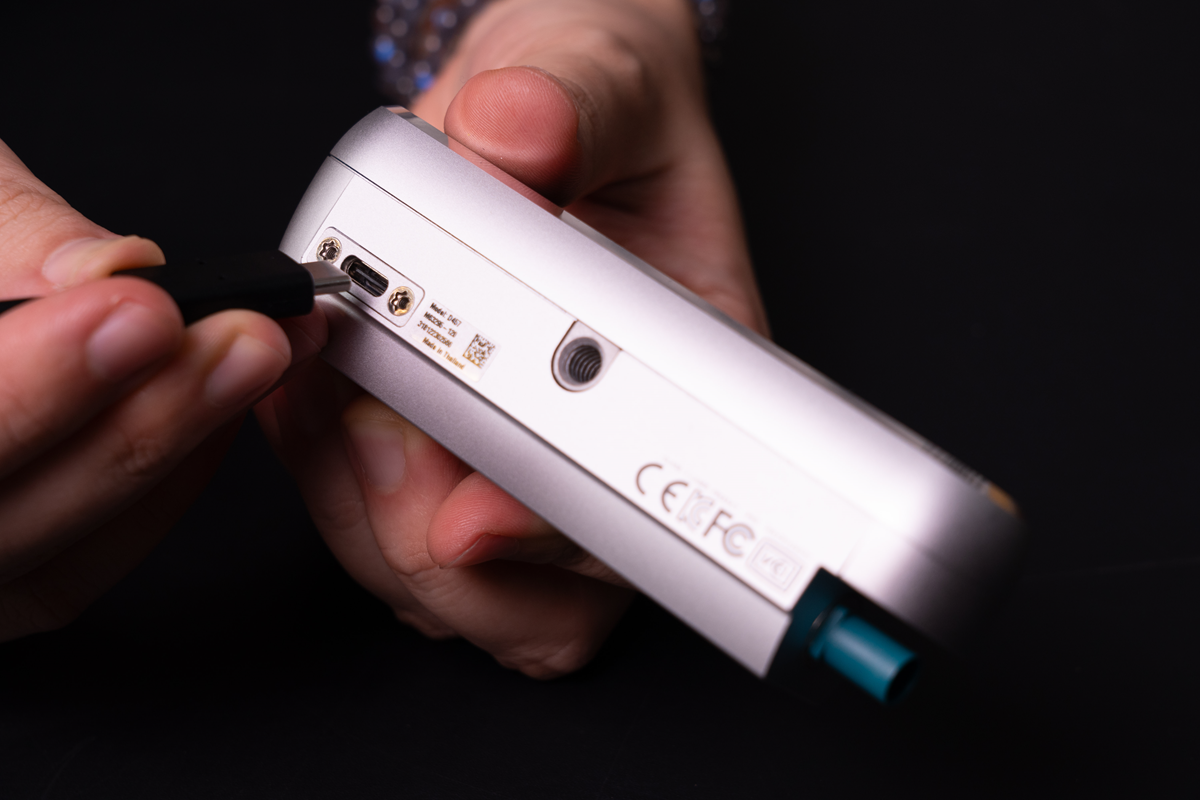
Connect via USB Use a USB Type-C to Type-C cable to connect the camera to one of the Type-C ports on the Jetson (D317) device.
-
Launch Viewer & Update Firmware Open a terminal (
Ctrl+Alt+T) and execute the following command to launch the GUI:Click the notification prompt in the top-right corner, or manually open the Device Menu (≡) next to "Info" and select Update Firmware.
Do Not Disconnect
Ensure the USB connection remains stable throughout the process. Do not disconnect the cable or power off the device until the update is complete to avoid device corruption.
-
Check Firmware Version After the update is complete, click the "info" (i) icon on the camera module within the viewer to confirm the firmware is now 5.17.0.10 or newer.
-
Restore GMSL Mode Follow this safety sequence to restore the camera for GMSL operation:
- Disconnect USB: Unplug the USB cable from the camera.
- Toggle Switch: Move the switch back to the MIPI position and close the top cover.
- Power Off Jetson: Shut down the Jetson device completely.
- Connect GMSL: Connect the camera to the D317 board using the FAKRA cable.
No Hot-Swapping for GMSL
Always power off the Jetson device before connecting or disconnecting the FAKRA (GMSL) cable to avoid hardware damage.
Initial Hardware Verification
The SenseEdge Kit includes the RealSense SDK pre-installed. Once the firmware is updated, the GMSL connection is established, and the Jetson device is powered back on, perform the following steps to verify functionality.
-
Launch the Viewer: Open a terminal and execute the command again to start the tool:
-
Test Camera Sensors:
- Verify that the RealSense D457 appears in the device list.
- Turn the Stereo Module and RGB Camera switches to "On".
- Ensure depth and color streams are displaying correctly.
Setting Up the Demo Application
Clone the quick-start repository and prepare the AI environment on your Jetson device.
-
Clone the Repository:
-
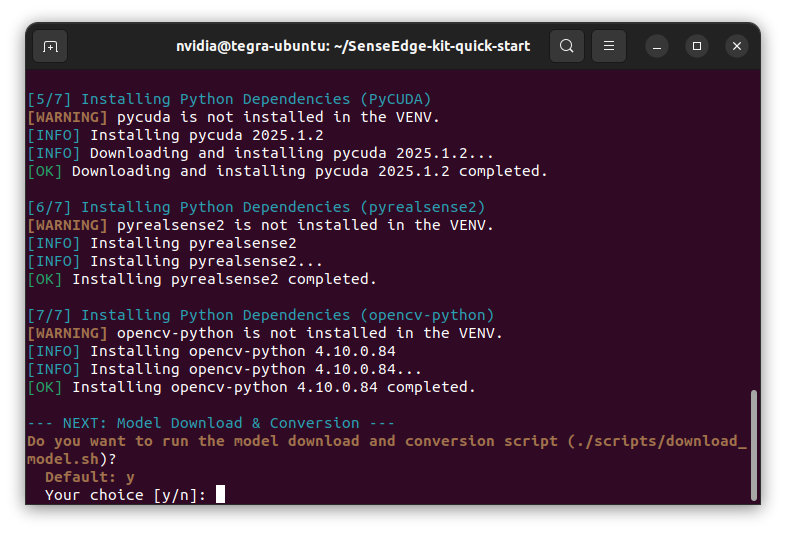
Run the Setup Script: This script creates a virtual environment and downloads required AI models to the device.
Default Password
During the setup process, you may be prompted to enter a password for
sudoprivileges. The default credentials for the device are:- Username:
nvidia - Password:
nvidia
- Username:
Interactive Setup & Troubleshooting
The setup script performs automatic environment checks and may prompt for user input:
- System Time Check: The script verifies if the system time is current. If a discrepancy is detected, it will prompt you to synchronize time via the network. We strongly recommend entering "y" to ensure connection stability.
- Model Download: You will be asked whether to download the pre-trained AI models. We recommend choosing "y" so the demo is ready to run immediately.
- Debug Logging: If you encounter issues during installation, run the script with the
-lflag to generate a debug log:
Running the Vision AI Demo
Once the environment is configured, you can launch the proximity detection demo.
Exclusive Camera Access
The camera hardware can only be accessed by one application at a time.
Ensure you have closed realsense-viewer (from the previous verification step) before running the Python demo. If the viewer is still open, the demo will fail to initialize the camera.
-
Activate the Virtual Environment:
-
Run the Python Demo:
If the demo is running correctly, you should see live video with bounding boxes and distance indicators updating in real time.
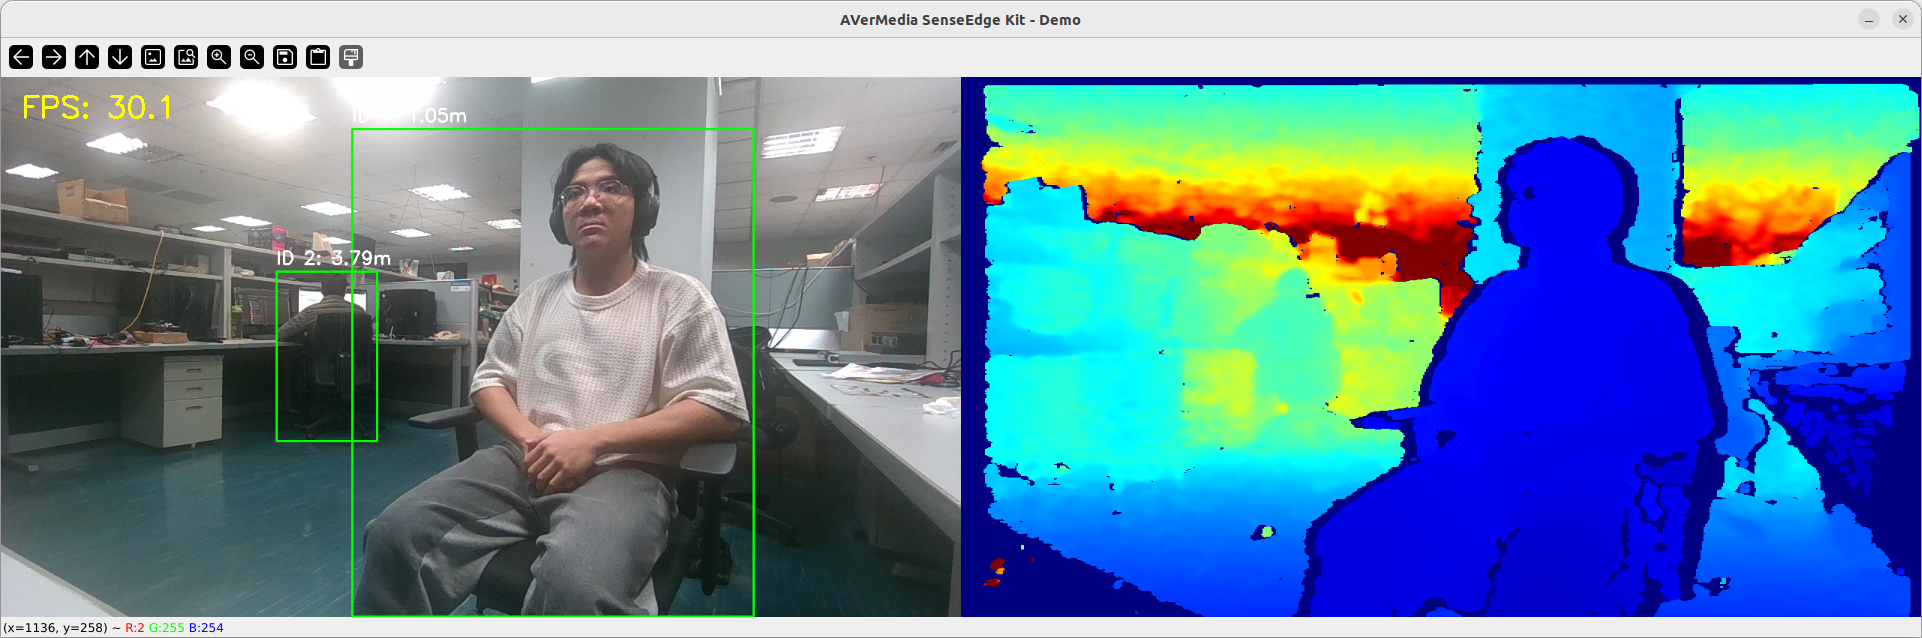
Figure: The application window will display real-time bounding boxes and depth-based distance warnings.
Troubleshooting
If you encounter issues during setup or verification, please refer to the following common solutions:
-
Camera not detected (GMSL): If the camera is connected via GMSL but does not appear in the viewer, it is likely running the factory default firmware (5.15.1.55), which only supports USB mode. Resolution:
- Power off the Jetson device immediately. (GMSL does not support hot-swapping).
- Disconnect the FAKRA cable.
- Go to the Prerequisite: Firmware Check & Update section above and follow the instructions to update the firmware via USB.
-
Installation or Model Download Failures: Re-run the
./setup.sh -lcommand to capture the detailed error log. Please share this log file with our support team for investigation. -
Demo fails to start: Ensure you have activated the virtual environment using the
sourcecommand before runningdemo.py.
Contact Support
If the steps above do not resolve your issue, please visit our Technical Support Page to submit a request.